

So my cousin, Sarina, recently started sewing and asked me to help her recreate a dress I had made her daughter. Low and behold, she did an amazing job. She wanted a few more ideas for easy things to make for the little lady and her family so I am going to try and post a few tutorials here for easy to create projects! These are super simple, I promise you can do it!
Amryn's Bag
Materials Needed:
**2 pieces of fabric cut to the size of the bag you will want. I cut these at 12x16" just cause I thought it was a good little person size. It is going to be cut a couple inches longer than the finished product will be because you will need to miter the corners to create the bottom of the bag.
**You will need the inside liner of the bag, cut the same. I used an old curtain, get creative!
**AND, the same cut of interfacing. This will make the bag stiffer, easier to work with and it will retain its shape. I like to use 808 interfacing but use whatever you have. I have layered a thinner interfacing when I was out of others before.

Don't forget straps! I had this piece of woven strap leftover from another project and decided to use it. Since she is little I figure she probably doesn't need straps as long as one of my purses I make for an adult. You decide how long you would like them. For an adult shoulder bag, I cut mine about 36".

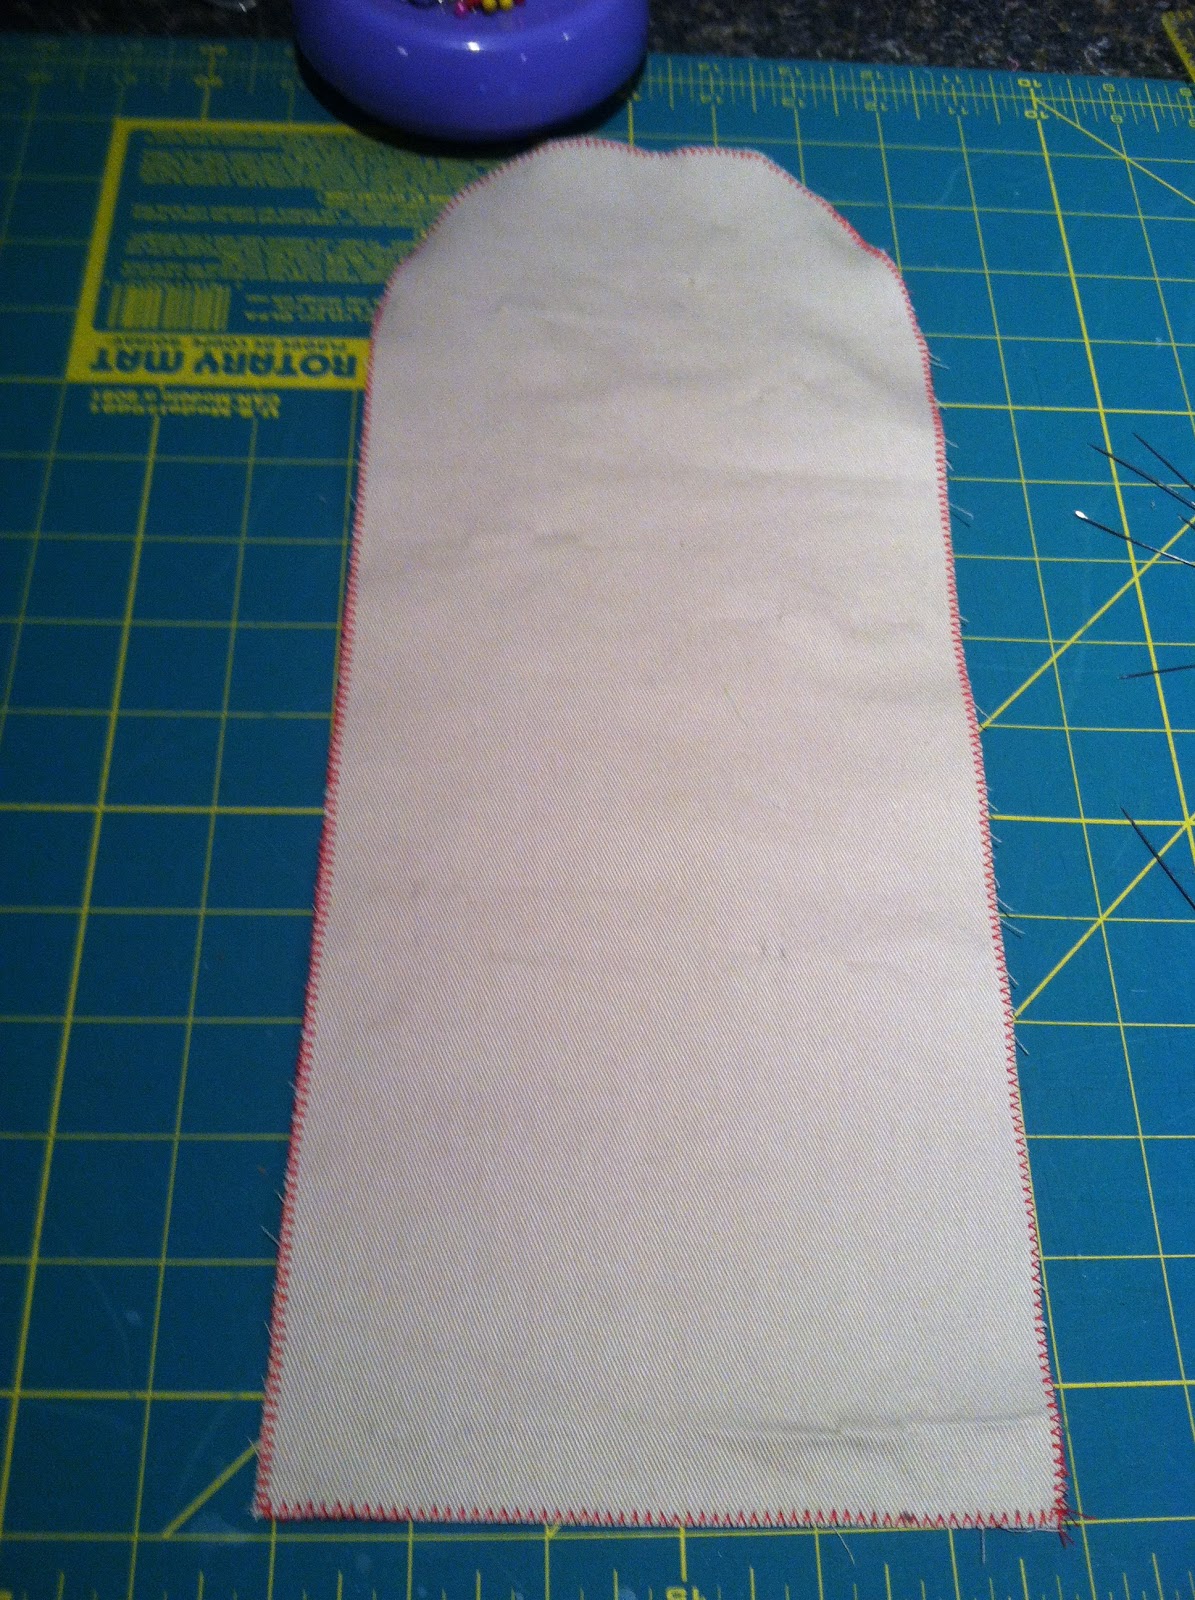
Here is everything cut out and ready to go.
First off, we need to iron on the interfacing (shiny side is sticky side) to the wrong side of the main purse sections. You can use a normal cotton setting and I like to use steam but it is whatever you feel comfortable with. you will need to press them together for a bit longer than ironing a piece of fabric. Don't leave it in one place to long but be sure they are stuck together!
 |
| shiny side of interfacing to wrong side of fabric |

With right sides together sew 3 sides of your sections, leaving what will be the top of your bag open.

Next we are going to miter our corners, making a bottom for the bag. We have three seams in this project so grab one side and the bottom together, look in through the top and line up the seams.


Then on the outside, with the seams together, lay the bag flat and measure. I made this one 2" on either side of the seam.

create a line, pin if you like and then sew from edge to edge.


Do this on both corners of the outside and inside liners for the bag. When you turn the outside the right way it should look like this!

If you look at it now and it is too tall, now is a great time to cut some off the top. Remember to trim the outside AND the lining bags. Just line up the fabrics flat and cut away. I highly recommend using a rotary cutter to get the most accurate cut. I cut two inches off this one to make it a little smaller.
Almost done!! I think this is the easiest and less stressful way to finish a bag. Go back to your iron and press down an equal amount all the way around the top of the bag and liner. I usually press down about 1/2".

Finally, put turn your outside fabric to look like the bag again and then slip your inside lining inside. I like to pin all the way around, matching up the side seams.


Next, tuck your straps in between the layers and get them pinned in place. Be sure that they are the same length and directly across from each other! Personally, I like to pin everything and pin lots. Just make sure you take them out as you sew and not sew over them.

Sew around the top, taking out pins as you go. Voila! You are done!!! Enjoy your bag. As you get comfortable with creating things and with your machine. Experiment with pockets in your bags, different closures, applique or designs on the front, trim etc. The options are endless!
|
| This finished little cowgirl bag with denim lining measures 11" across and 11" tall. Way cute! |


