

So I was packing lunches this morning and was once again frustrated by our lack of containers. The hippy in me will NOT us a plastic bag unless absolutely necessary so I found some scraps and threw together one of these. I have one that purchased awhile back but really, why would I need to pay $6 for something that I can make in 10 minutes? You can too, it is super easy so lets get started.
What you will need:
2 pieces of scrap fabric that can be cut 6"x15 1/2" I have a ton of scrap and am always game for a project that uses them! Seriously, you don't need to buy any unless you want a special print. Get creative with stuff around your house. I personally used a piece of unbleached organic cotton for my inside that will touch food. Once again, hippy. Everyone needs organic cotton touching their food coloring filled sour patch kids right?
1 Cinnamon Lollypop from See's Candies. No seriously, my girl KD got me hooked on these and you can finish this project before it is gone! If you have never had one, get some!
First, cut your fabrics to 6" wide by 15 1/2" long. One will be the outside, one the inside (obviously)
This size will be great for a sandwich, snack crackers and is the perfect size for my famous cookies.


Pin and sew velcro long 1 inch from the top. Yeah Yeah Yeah, I was too lazy to switch to black thread and then back to red. Next time.
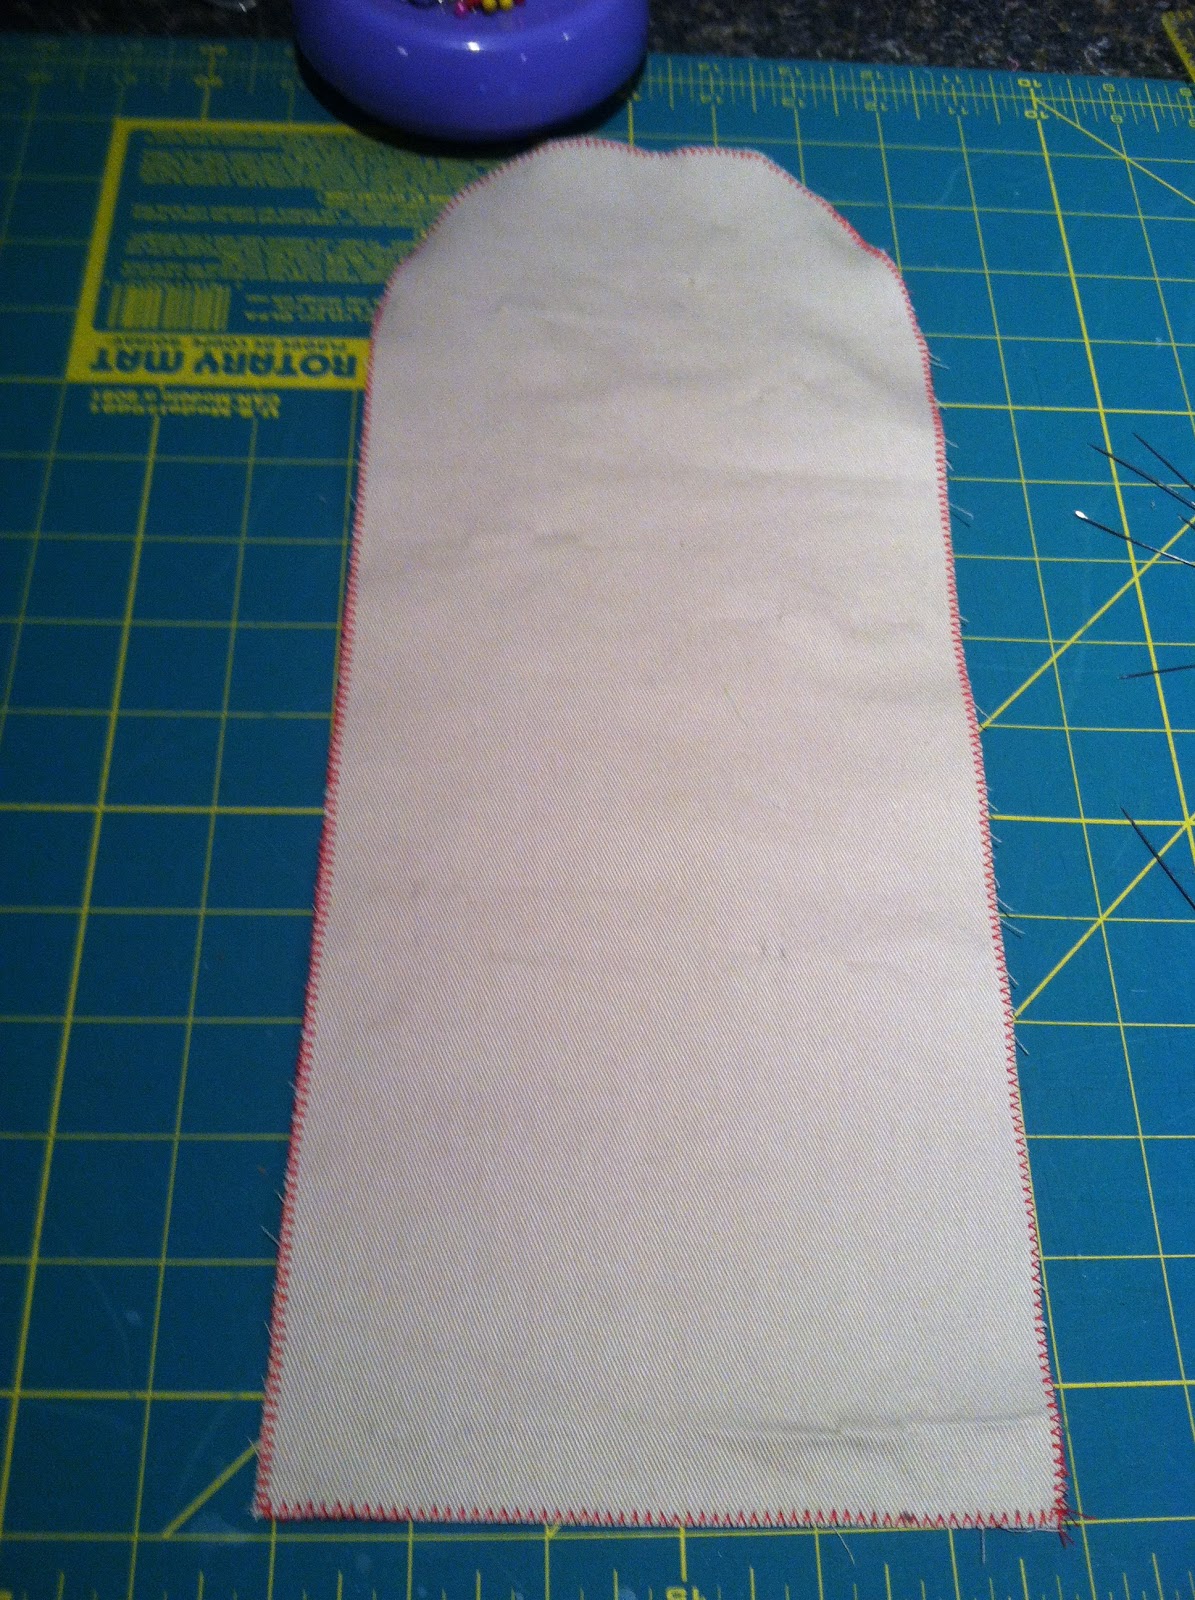
Next, lay them on top of each other, wrong way together and pin. I guess you don't have to pin, I just like for my stuff not to move. I could never understand how my mother never pins anything.


Get creative and decorate them and add embellishments. This one has a yellow "E" on the back of it for my daughter!
Hand wash them and then hang them to dry on your DUO or from a clothesrack!

No comments:
Post a Comment